Friday 30 October 2015

Getting the radiators sorted, once and for all.

Having discovered the source of the heating pipes in the hallway, it made sense to take the system apart again, and re-do the plumbing to both the radiators in the hallway and living room, and to have the plumbing coming up through the floor, rather than through the wall which was currently causing us a headache.

It also made me think that when we eventually get round to plastering the living room, we are also likely to have the same problem there.  So lets sort this out now.

We only had the one access hole in the hallway and I didn't want to rip up all the floorboards as we will be finishing them.  We would have to go down there anyway to do the insulation, so I sent the hubby down there for practice. The living room was a bit easier to access - there were already two accessible boards near to the ends of the radiators, and I just had to lift one more.  We would be carpeting this room anyway so it wouldn't be as crucial if it got slightly damaged.


So, off the poor bugger went.  I did kit him out though before he went.


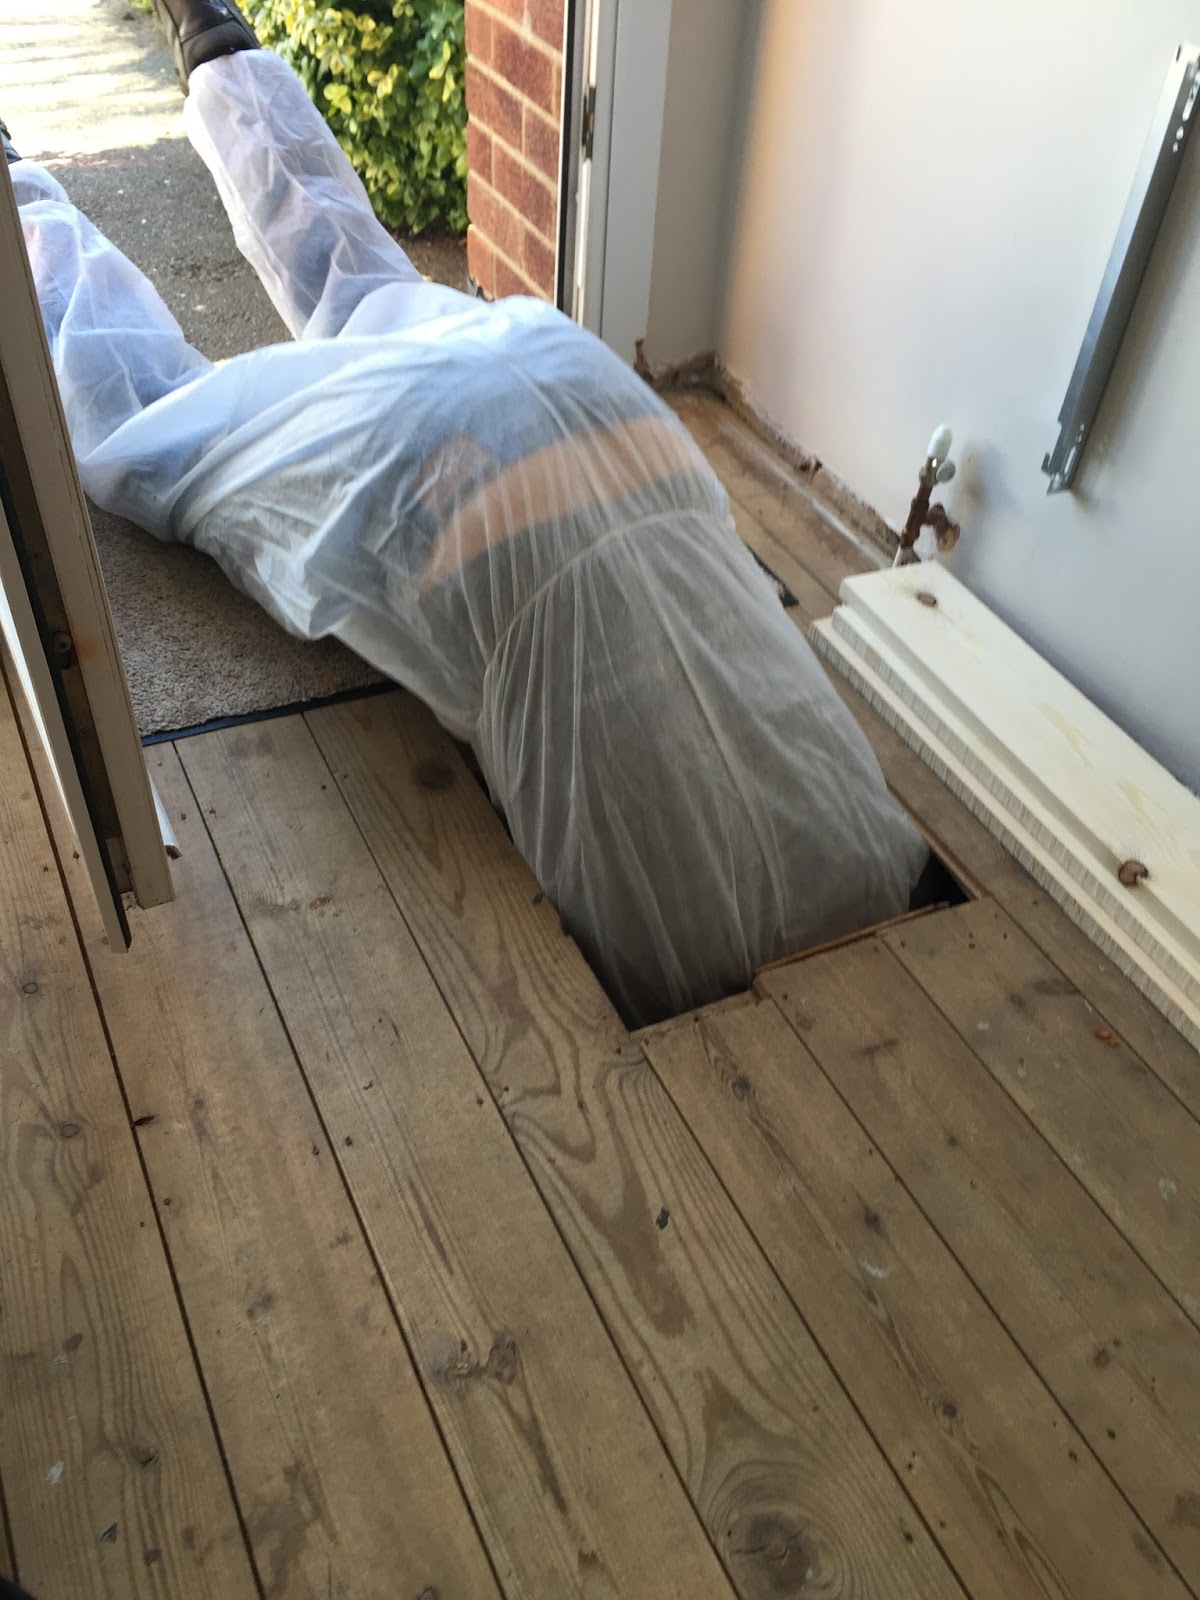
Took him a while to figure out how best to get in the hole! Lol!


We still had the weird capped water pipe to deal with as well:


Well, on further inspection, the pipe didn't seem to be coming from the other side of the radiator after all...  It seemed to be coming from the corner under the stairs.  And there is definitely no water pipes over there...  That's the point that the gas comes in the house...  Oh my goodness, it was GAS!  So that is just going to stay where it is. Thank goodness I didn't cut into it!


For the plumbing we used JG Speedfit Plastic Push Fit connections.  Whilst soldering would be the ideal option, we just aren't competent, and compression fittings still make me somewhat nervous.  The plastic push fit ones also seem like they will be more flexible than the copper push fit which had very little play in them.  

Top tip: I always measure up on the outside how far the pipe should go in to the connection, and then mark this on the pipe.  Then when I push the pipe in, I make sure it's pushed right up to the mark I have made on the pipe.


The lounge radiator all plumbed in through the floor now instead of the wall


We made all of our connections (this took about 1.5 days), and then pressurised the system.  We have a combi boiler so that included filling up the system with water through our filling loop, and then going round and bleeding each radiator in turn, and after each radiator topping up the system again with the filling loop.  This is a good job for two people, as one can be walking around the radiators while the other one stays next to the boiler topping it up when necessary.  

All seemed ok, and we put the heating on to really test it out.  A few hours later I noticed a small wet patch under two of the connections - eek!  That means draining the whole system down again :( Needs must though, so that's what we did.  


They were both leaking at extender valves (why were we using extender valves at all I hear you ask?  Well, there was a joist directly underneath where I needed the pipe to come up so I obviously couldn't drill through it).  All we did was take them off, cleaned them up, put 12 turns of PTFE on and some Fernox LS-X and we were good to go.  I think I had only put about 3 turns of PTFE on the first time so I hoped this would do the trick.

So far, touch wood, it has done the trick and we've had no more leaks yet.  I'll keep an eye on the system though this winter as this will be the first winter we have properly used the heating with all our plumbing work.  I have been advised that leaks can develop over a few months so I'll keep an eye out.

Anyway, here's our handy work in the hallway - I think it looks much cleaner than all those T pieces going through the wall (I still need to paint the grey filler I used to fill in the hole), but I love the look of the clean shiny copper pipe coming up through the floor.  I've never understood why people paint them.


Hopefully that will be the last of the central heating work I need to do for a long time! I hope!  The only radiator left to sort out is the kitchen one, but we are waaaay off doing the kitchen so that's ok - I can cope with that.

Have you ever done any work on your central heating system?  Did it go to plan?


Wednesday 28 October 2015

What will we find under the laminate?

So, having taken a sneaky peek under a corner of the laminate when we got back from Dublin, it was time to lift all of the floor.  All the serious painting had been done, and the risk of damage to it was much smaller now.  It only took about 15 mins, but I was nervous the corner I had lifted might have misled me to the condition of the rest of the floor...

The recent plumbing disaster meant that I was certain we were going to have to lift the boards and do some proper plumbing, rather than the bodge we had tried to get away with.  When we originally started the hallway project, there were no intentions to change the flooring, so lifting it was something we had tried to avoid in case it didn't go back down properly.  What's the moral of the story?  If you going to do something, do it properly!  Lesson learnt!

So, what did the floor have in store for us?


Great access hatch, but strange terminated pipe to the right of our radiator connection.

Pretty good I think!  With a floor sander I'm confident that will come up a treat.  There was even an access hatch (which I think I will eventually cover with a rug) which was really handy as I thought we would have to go in under the stairs to avoid damaging the floor.

The boards under the stairs weren't quite as good, but these would become part of the under stairs cupboard eventually though so I wasn't too concerned.

The void was filled with spiders webs though so there was absolutely zero chance of me getting in there!  I sent the iPhone down though to get some shots of the plumbing situation to see what I was working with...


I was a bit confused by this pipe - it terminated at floor level and seemed to come from the other end of the radiator.  If they were going to change the size of the radiator, why wouldn't they just extend this pipe to the new connection??  

And the irony of it all?  The living room, the room that previously had no radiator before we moved in, the room we had connected up with T pieces through the wall, was actually the room where all of the pipes for the hallway radiator came from!!! Arghhh!

A bit like Monica with the light switch, I became obsessed with tracing the pipes to figure out what the hell was going on.  The hubby turned into Joey at this point, and was not impressed at me moving the sofa  while he was trying to watch the rugby.  


I ripped up the carpet in the living room (meh, we are going to replace it eventually anyway), something I had done before, but not to the same extent as this woman on a mission.  Further into the room I found some access floor boards so I lifted these and sent the camera down again to do some more digging.


Not only, had the heating pipes come from the living room, there had historically been a radiator in the living room which someone had taken out.  The pipes and connections were all there....

Why, why, why, would you remove a radiator from a living room and replace the heat source with a crappy gas fire? WHY?!  Can you tell this frustrated me a little bit? LOL

To be continued...


Monday 26 October 2015

Sunday 25 October 2015

More central heating work.

So, this was originally intended to be a very straightforward post...  But as most DIY jobs go, it just didn't go to plan.  And you find all sorts of other problems that you have to sort out first...

All we had to do, was to put the radiator back on the wall and connect up to the pipes which were already there.  Sounds simple huh? We had done some work to the system back in April, so were fairly confident this was be a 10 minute job.  HAHAHAHA!

So I started out putting the brackets back on.  We had left the screws in the wall during plastering so we would know exactly where to put it back, and I had marked the brackets up too.  Simples.


I then took these photos to show you guys the way I prepared the joints ready for connection.  My go to products are PTFE tape and Fernox LS-X (a silicone sealant which solidifies on contact with water - it absolutely stinks but I like to use it as a fail safe)


I'm fully aware that the threads aren't what prevents the water leaking out, and its actually the olive on the connecting pipe which does that job.  However, I still like to do 3 turns of PTFE (clockwise direction when looking at the threads) just to be sure, to be sure.
 This is when it all went terribly wrong.  I don't photos I'm afraid.  I was too busy trying to deal with the water that was flying everywhere!!  So, way back when, when we orignally messed around with the plumbing, we put in  some push fit T-pieces so that we could connect up a radiator in the living room back to back.  I raved about the each of push fit copper fittings and how easy they were to use... I take it back! All of it!  They are a nightmare!  That's probably a little unfair, but essentially copper push fit fittings are not good if they have any strain on them.

When we originally put the radiator on, it all joined up perfectly.  But the extra plaster on the wall added a few mm to the wall thickness which pushed the radiator out those few mm as well.  When we then tried to connect up the sides, this was just a few mm too far.  Everytime we tried to connect it up, water came shooting out of the joint.  The other problem was that when we had drilled the holes through the walls we had quite a lot of play in the pipe to allow some movement.  The plasterers had kindly filled in the holes so make it look super neat, which was great, but we also lost all the movement in the pipe.  Initially thinking it could have been this that was the problem, we set about gouging out the plaster around the walls [yes, the new plaster :'( ] to see if that would help...


Nope. It didn't help.  We still had water shooting everywhere.  Nightmare.

It was at this point that I realised we would have to drain down the whole system and start again. Changing the push fit T-pieces at the very least :'(

Have you ever done a job, and then later realised what a hash you made of it to start with it?  I hope it's not just me!

Saturday 24 October 2015

Hallway - To Do List

I'm determined to get the whole hallway project finished by Christmas.  That's my aim.  Even though the paint is generally on the walls, there is still a heck of a lot to do!  Here's my list:

  1. Get the radiator back on the wall.
  2. Take up the laminate flooring
  3. Cut back bathroom flooring upstairs to fit nicely in door threshold in prep for floor work
  4. Insulate under the ground floor (I'm fairly sure this hasn't been done, but who knows!)
  5. Replace loft hatch, and sort out plaster around it.
  6. Sort out the dodgy patch on the ceiling 
  7. Sand floor (upstairs and downstairs)
  8. Stain and varnish the floor
  9. Sand down woodwork on stairs ready for repainting
  10. Finish stripping door frames (firstly, I need to figure out where I'm going to stop!)
  11. Attach skirting board to all walls
  12. Prime and paint all woodwork (this is going to be a big job!)
  13. Paint the two internal doors downstairs
  14. Fit new handles, hinges etc. to the downstairs doors
  15. Carpet runner for the stairs
  16. Make blind for upstairs window
  17. Make curtains for front door
  18. Buy frames and hang pictures
  19. Build out under the stairs to enclose the space (my first go at serious carpentry!)
  20. Install storage system under the stairs
  21. Revel in the prettiness of the hallway when it's all done! :)
How is your to do list looking?


Hallway - First Coat of Colour Paint!

The walls have recently gotten their very first coat of colour after their mist coat.  You might remember when I picked out my colour way back when, the very calming, Egyptian Cotton.

I was so excited to get the first coat on, as there is nothing like getting the paint on the walls to feel like you are making progress!

Here we go...


I couldn't believe how olive green it looked when it first went on.  I like it though :)  The brush is also pretty special.  It's a Purdy Monarch Elite.  After reading loads of rave reviews about it, I stumped up the £10 investment (which for me on a paintbrush is a small fortune) for this bad boy.  Oh my days, it's changed my life.  What an amazing brush!  Cutting in is just so easy.  I wasn't particularly blown away when I first got it out the packet, the brush fibres didn't seem to be cut consistently, and it just looked like a normal brush.  However, it's when you start loading the brush with paint, you see it's true beauty.  I would highly recommend this brush.  

Disclaimer: I have not been paid to say nice things about this brush.  I bought it myself and just genuinely love it!

The paint was Dulux Endurance and it went on well.  Two coats covered the walls very well.

Here is the progress shots:

Do you like our ladder origami?  You have no idea how hard it was to try and manipulate this huge ladder into the shapes we needed without dinking our new perfectly smooth walls.  We managed to only dink it once!  Also not the pillowcases over the ladder feet to protect the walls as well.


And here is my super duper tip on painting right into the corners.  Even my new BFF the Purdy Monarch Elite couldn't right in there.  It's my finger tip.  Essentially get some paint right on the tip of your finger and smooth it into the corner.  It sounds silly but it just works.

Excuse my poor painting skills to the right of the corner in these shots,  this was the last corner I did and I was tired by this point!


We put no protective coverings on the floor as they will all be coming up anyway.  At least I hope so because we have trashed the carpet upstairs!


Thursday 15 October 2015

Hallway Flooring - Sneaky Peek

After my inspiration trip to Dublin we decided to sand and stain the hallway flooring.

I ordered some samples of stains from Wood Finishes Direct and I tried them out this weekend - here's a peak:

Top: Brown Mahogany
Middle: Dark Teak
Bottom: Wenge

I did them on a floorboard I knew we would be replacing anyway.  I did the Wenge colour first, and when I blobbed it on it was so dark! I then watered it down a bit and that's why there is two different tones for that one.

I'm still umming and ahhing between Wenge and Dark Teak - the Brown Mahogany was too dark (even watered down). Which do you think looks best?

Tuesday 13 October 2015

Hallway Progress - More Paint Stripping and Splash Coat

As I hadn't managed to get all the paint stripping of the architraves done before the plastering was done (see the post about that here), I had to finish it before painting.  I didn't want to run the risk of the emulsion on the wall blistering if I had painted the walls first.


I waited a few weeks for the plaster to be really dry, as I was worried the heat gun might cause it to crack.  It was generally fine, but there was one area which it cracked - eek! :(


I still have more to do around the door stops, I only did the edges next to the plaster, as I'm going to be honest, I was itching to get the paint on the wall!

So for fresh plaster, you have to paint on what is called a splash coat.  This is typically a watered-down emulsion coat, as the plaster will be really thirsty.  The plaster drinks in the water and it's a good starter coat before you put your more expensive colour coat on.  I generally use cheap white matt emulsion paint, but you can use any matt emulsion - just make sure you don't use vinyl emulsion.

I probably watered it down 50/50 to start with, so half paint half water.  The paint doesn't always mix well with water though - it takes a while to get it consistently mixed.  I actually used a whisk to get it all mixed - not conventional, but it got the job done!


The 50/50 mix was waaaay too much water!  So this happened...


Then I read the instructions on the paint tin, and it said 20% watered down on fresh plaster.  I measured out the paint to water ratio using a plastic cup and that worked well.

After I got the ratio right it went on much cleaner!


I did all this while the hubby was out so I had to leave the corners that I couldn't get to with the roller on an extension pole.  When he got home we got the ladder out and got those bits done.

I still need to sort the area of the loft hatch out.  I will actually change the loft hatch, but it's the area around it that will need a bit if thought and work.


There was one area of the ceiling down stairs that didn't take the paint too well - I'm not quite sure what was up with the plaster, but I wasn't particularly impressed with it.


Again, some more work required to this patch to sort it out.

What projects are you making progress with?