Showing posts with label wooden. Show all posts

Wednesday, 8 June 2016

Office Make-Over - Part 1

We have had a little shuffle round in the house and decided to move the office out of the guest bedroom, and into it's very own room, which used to be the spare guest room with a single bed in it.

We gave it a quick lick of magnolia paint when we moved in two years ago, but other than that, it was left as it was, and to be honest, it became a bit of a dumping ground.


I also gave the hubby (almost) free reign to pick a colour of his choice, as it would be his office after all.  He had taken the mickey so much out of my Farrow and Ball colour cards, that when he picked a colour I think he was just being flippant.  But to show him I'm not a wimp, and I really can paint our house in a colour other than magnolia, I went through with it.

The colour he chose was Farrow & Ball Sudbury Yellow.


I've never used F&B paint before, and it was eye wateringly expensive - but I wanted to give it a go.  With it being a tiny room, I would only need one 2.5L tin, so there was some damage limitation. (But still, £40!)

Prepping for plastering by removing the skirting board (yes it was screwed on...)
One bit of prep that I wasn't bargaining on was removing this little bugger of a piece of skirting board:


After wrestling with it for quite some time, I realised the reason I could not extract it from the wall, was in fact because it continued THROUGH the wall, (yes, that's correct, through the wall), and into the master bedroom on the other side!  I'm not often lost for words, but that really left me speechless!  I mean, really?!  There is no way this was ever a two bedroom house, there are no other signs that the two rooms used to be one (that and all the neighbour houses are the same as ours) - so why on earth would someone think this was a good idea?! 

They really was no way it was coming off by pulling it, so out came my trusty hammer and chisel, and I chiseled the little bugger off.


And then plastered over him like he never existed...


So next up was, plastering.

I cleared everything out of the room, and put some scrim tape across the minor cracks on the ceiling.  No idea if that's a good idea or not, but I thought I would give it a go.  I also split the ceiling into two halves using scrim tape (which I would peel off after doing the first half) to give me a nice clean edge to work off for the second half.

Half of the ceiling plastered - scrim tape removed to leave clean(ish) join

It took me 7 sessions (each about 3 hours) to get the whole room done.  The room is approx 2.4 x 2m.  Plastering is all about time management, and making sure you have the right amount of time to go back and do the second coat, just when the first coat is at it's sweet spot.  It's all about good prep, setting up all your equipment ready, and making sure the surface to be plastered is clean and has sufficient coating of diluted PVA glue - this is to stop the wall prematurely sucking all the moisture out of the fresh plaster, making it unworkable too quickly.

I found a great solution for plastering around light switches and sockets.  What I did was that I turned the electrics off first, and then detached the front plates of the sockets from the wires behind.  I then cut out some small pieces of cardboard to cover the remaining hole and protect the wires.  I then plastered straight over the top as if it wasn't there, and cut the cardboard out after I had finished all my 'wets' (last finishing trowels). Simple, and so clean looking when it's done - something our plasterer who came in after the re-wire could have taken a lesson in!

Some progress shots:


Prepped (left) and after (right) shot.  The paint on the left is where I had sampled the colour before buying.


The hardest bit for me was around the window as there were so many fiddly bits like the valves for the radiator, and the narrow edges down each side of the window.  It really does look a bit pants, but the radiator does cover most of the worst spots, so I'm not too concerned.

Let's just say my plastering isn't perfect, and when it was all done, I did need to rub over the walls in some places with some really fine sandpaper.  But it's not horrendous!  After sanding I then wiped the walls with a wet cloth to get rid of any surface dust before painting.

I did two coats of a watered down white emulsion and then one coat of full strength white emulsion.  I love Johnstone's premium contract matt - it goes on so well and the coverage is excellent.  That and the paint shop at the end of the road sells it which is very convenient.


Look how huge it is now it's all white and clean looking!

Due to time off work, it was at this point that I decided to sand the floor back.  The carpet in here was the original carpet that the owners before it had left, and for some god awful reason (in terms of god awful points the previous owners have racked up quite a few on this room!) they had decided to fit it in two halves. As the room was so small, I just hired one of the edging sanders to get the room done, and it only took a couple of hours.  Not bad! (Absolutely killed my back mind. Will I ever learn?!)


Halfway through

And done!  Ignore the dodgy plumbing in the back of the shot.  This will get sorted out when we next drain the system down, but as we had just put some inhibitor in the system, it seemed like a bit of a waste to do it there and then.

And covered up with a plastic dust sheet to protect whilst painting commenced.

This is where I will leave you with part one. Join me shortly for Part 2 - the paint!

Wednesday, 17 February 2016

Making a Roman Blind

I'm going to be honest here - I'm not going to attempt to write a full on tutorial here as Sew Helpful have an absolutely amazing one which I followed to the letter to make this blind.  I didn't buy the additional videos, and was just guided through with the free text instructions. Admittedly when I started reading the instructions it didn't make a whole lot of sense, but by the time you got up to that step, it made a lot more sense.

I therefore won't go explanation crazy, but apologies in advance of how picture heavy this post will be!

This was what I started with - it was really hard to photograph as it was so light outside, especially with the snow!  Measure twice, cut once :)


The only space available that I had that was big enough and flat enough to assemble such a blind was the kitchen floor, so after a quick clean, I laid all the fabric out.  (I then realised how creased it was and proceeded to iron it - the photo is the lining fabric pre-iron!)


After ironing the hem allowances, I then carefully measured out the rod pockets and sewed them in.  The alternative is to use rod pocket tape , but I chose to sew my pockets into the lining instead.


The one thing I dislike about sewing is all the ironing involved in it!  It makes such a huge difference though.  This is the first rod pocket in:


Once all the rod pockets were in, it was time to prepare the actual fabric.  This had the hem allowances ironed in.


This bit is hard to explain, but you lay the fabrics wrong side to wrong side, and then the hem allowances roll up together.  When you are ironing the lining fabric it seems a bit backwards, but when you get to this point it all makes sense.  The outer fabric hem really nicely hides the lining fabric hem.

There was so much hand sewing involved, and apart from sewing the rod pockets, nearly all of the rest was hand sewn.  This was so you get a nice finish on the side that you will see, and none of the stitches come through.

I also made a big blooper at this point as I had cut the outer fabric the length that I had noted down for the lining fabric.  The lining fabric is cut longer as you need extra material to make the rod pockets.  Mild moment of panic!  At which point I realised what I had done and breathed a huge sigh of relief!


This is my beautiful sewing machine, which I absolutely LOVE.  It's not fancy, it can't do a bajillion types of stitches, and 99% of the time I just use it for a straight stitch, but I still love it so much.  It was my nan's and she bought it back in the late 70's when my mum was doing sewing at school.  A good 35 years later and it's still going strong.  What a beaut.

This was at the point that I was sewing the velcro to the top of the blind.


I used a wooden baton for the header rather than buying a pre-made kit.  I figured it would be cheaper, but now I've started to add up all the little bits, I don't think it actually is cheaper to do it my way!

It was just a scrap I had lying around the garage, which I covered with the blind fabric using my trusty staple gun.  I then got the other side of the velcro (this side had adhesive on the back), and pressed it on.


There was no chance that the adhesive would hold up the whole blind though, so I stapled it down for good measure.


Next I laid out the finished sewn blind and strung up the back.  Before this point I threaded wooden dowels into the rod pockets, and sewed little hoops at regular intervals to thread the blind cord through.


Next up was putting up the baton.  I enlisted my trusty helper for this one:


I did try doing it solo, but whilst trying to hold the long heavy baton with one hand, mark out where I needed to drill with another, I ended up dropping the bloody thing and making this huge gauge in the newly plastered wall :-o Oh my days - not good news!


Anyway, with the assistance of my trusty helper, we managed to get the baton up above the window.  We used three screws to secure it, one at each end and one in the middle - that seemed sensible enough.


After that was the simple job of velcro-ing the blind to the baton,, and stringing the blind cord through the hooks that were waiting on the baton. Add a little hook on the wall for the secure the blind cord in place, and voila!

It was a thing of pure beauty when the blind glided up a dream and folded up into perfect pleats.  I was so proud of myself.


Total Costs - this was for a window 120cm wide and approx 120 high

Outer Fabric: £9 (IKEA)
Lining Fabric: £5.98 (eBay)
Thread: Free (already owned)
Wooden Baton: Free (Scrap from garage)
Staple Gun & Staples: Free (already owned)
Blind Cord: £4.50 (Local Haberdashery)
Small Plastic Rings: £1.49 (eBay)
Chrome cleat for securing blind cord: £1.90 (eBay)
Chrome Barrel for tying all blind cords together: £2.99 (eBay)
Eye Hooks: £1.49 (eBay)
Sew & Stick Velcro: £5.98 (eBay)

Total Cost: £33.33

Now that I have added it all up, it doesn't seem so bad, but it sure felt like a lot as it kept adding up.

This also doesn't include the first piece of white fabric I bought and then dyed grey.  It didn't really look like grey though and was more blueish - so I ended up giving it away on Freecycle.  It was probably about £10.


What have you done today, to make you feel proud? (Sorry Heather Small, totally borrowing your line there)

Friday, 2 October 2015

Weekend in Dublin

In early August, we had a weekend away in Dublin, or more precisely Dun Loaghaire (pronounced "Dun Leery").  The weather was a really mixed bag - one minute it waas glorious sunshine and baking hot, the next the skies were black and it was pouring it down and howling a gale!  It was a gorgeous place though, with a nice long pier, sea front bars, and a lovely high street with lots of little independent shops and coffee places (as well as some bigger chain stores too).  There was even a cinema!

Here are some of the pictures I took from the sunnier moments:

#maybefiltered

#nofilter. Genuinely


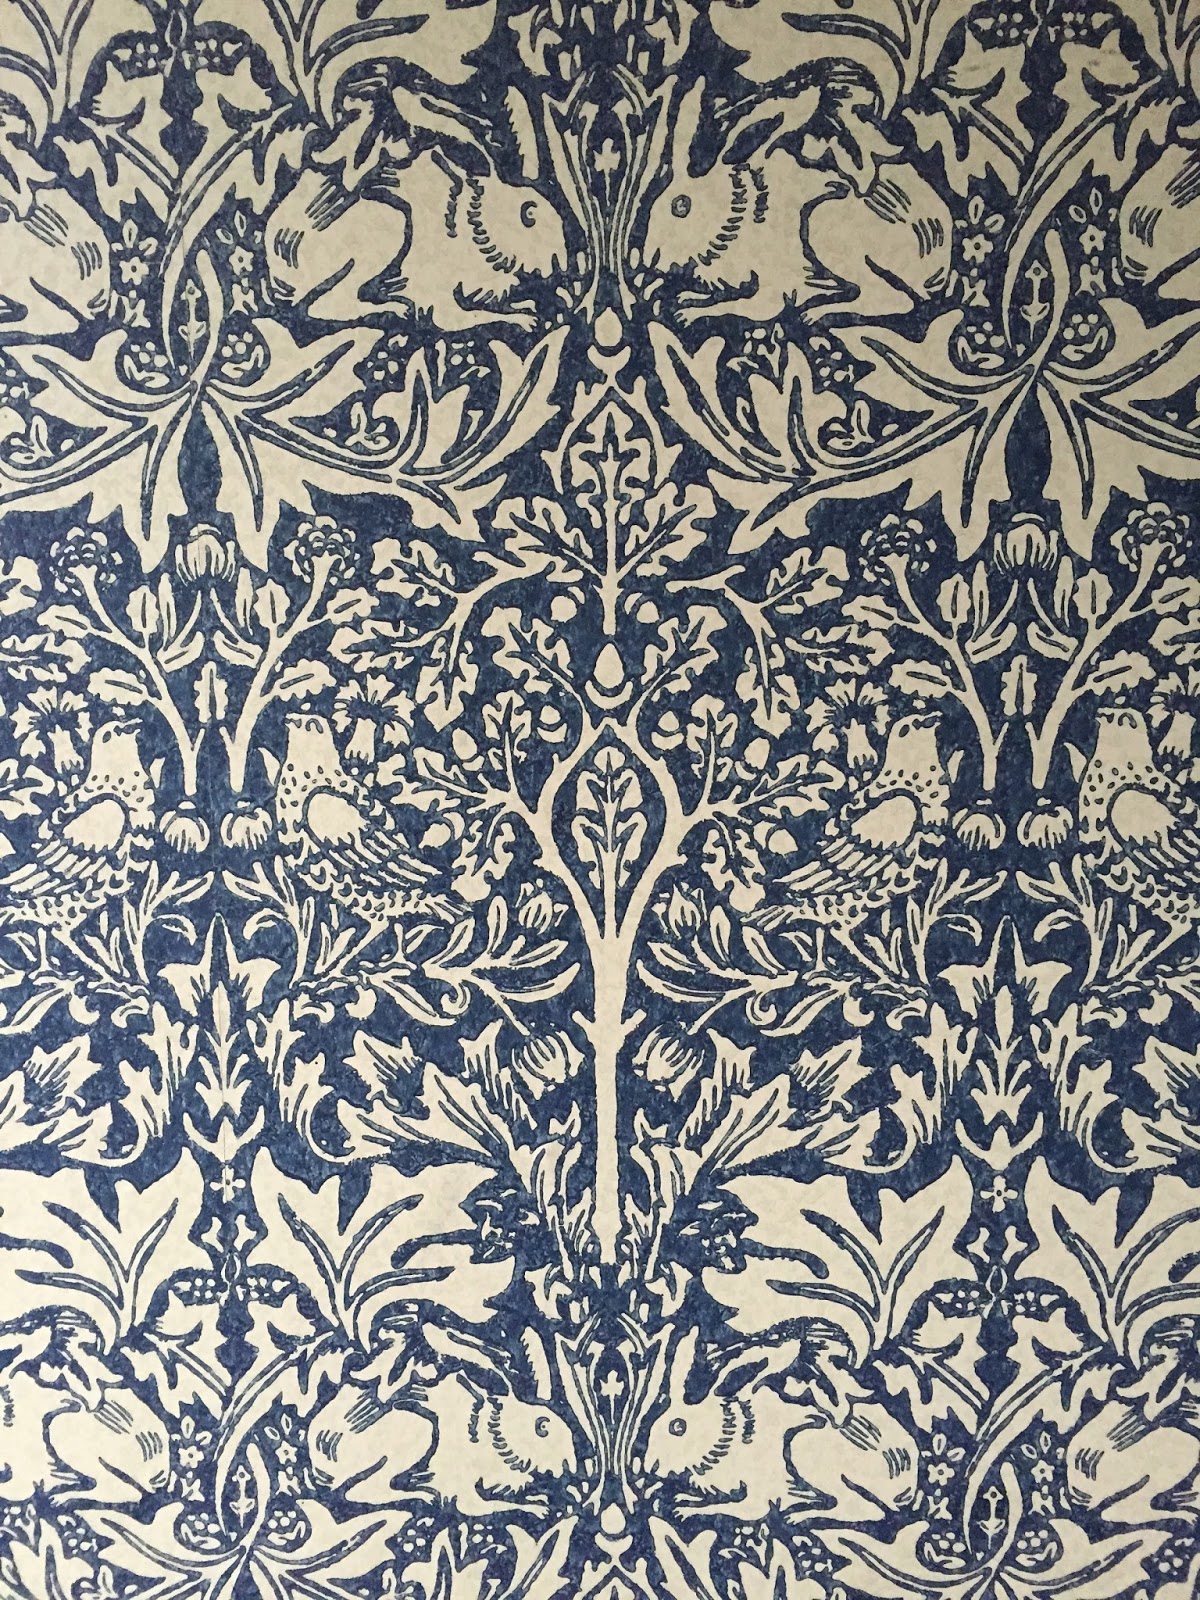
We stayed in an AirBNB place with a family which was also a bit of a mixed bag.  However the home itself was beautifully decorated.  For example, this wallpaper (even though from this post, you all know I hate wallpaper, in particular stripping wallpaper!):

I've no idea where it's from or who makes, but I just appreciated it's beauty.


I just loved how there are bunnies on it!

I was also inspired by the flooring.  It was gorgeous.


So much so as soon as we got home I carefully peeled up the laminate in the hallway to see what I had to work with.  More on that to come soon!

Have you ever found inspiration in an unusual place?