Showing posts with label leak. Show all posts

Wednesday, 18 November 2015

Fixing the Shower - No more dribbles!

So when we originally did the bathroom (read all about that here), the shower was never quite right.  The flow control (to turn it on and off) was always very stiff, and once it was wet from having the shower on, it was even harder to turn.  It also leaked around the flow control knob and you had to kind of hit it in a certain way to make it stop.  Hard to explain to guests...

And when my nanny came last Christmas to stay she actually had to ask for help to turn the shower off because it was that hard.  To be honest I often struggle myself.

The shower was from Triton and even when I bought it, it was a bit of a bargain (about £60 in the sale). At the time the budget was tight, so for a thermostatic mixer shower from a reputable brand it seemed like a good punt.

I had called Triton just after Christmas to see if they could come out and take a look at it.  It was, after all, covered by a five year parts and labour guarantee.  They said they could come and take a look, no problem, but then proceeded to send me a long list of T&C's which said if it was an adjustment or there wasn't a fault they would charge me a call out fee.  Given that it didn't leak all the time (only most of the time), I was concerned I was just being special, and that almost guaranteed it would work (without leaking) fine on the day.  At the time money was a bit tight, so I wasn't willing to risk it.  So we put up with it.

Until the other day, when I just decided I had had enough with it.  Enough was enough.  If I had to pay a call out fee because I hadn't done something blatantly obvious, then so be it.  But something had to give.  I booked online, and arranged a service visit for a few days later.

When the man came round to have a look, he admitted straight away that it wasn't right at all.  But unfortunately he didn't have the right parts on the van so we would have to arrange for another visit.  Also, we had no way of isolating the shower from the rest of the water in the house.  Triton do say in their T&Cs that a condition of service is that you must be able to isolate the water pipes to the shower.  So fair enough.

But it was a right pain in the bottom nonetheless.  We paid an arm and a leg to get this shower plumbed in just 18 months ago by a professional plumber, who should have known full well that it's good practice to put in isolating valves.  So the fact that there wasn't any, was a bit of a blow.  But yet another opportunity to practice my plumbing skills!  So here we go...

Everything was plumbed in rather rigidly so the amount of flexibility I had to fit the isolation valves in was very limited.  Compression valves weren't an option as I couldn't push the copper pipe out the way to fit one in.


I researched the products that were out there, that could work in my particular situation.  For a long time I came up blank, but finally I came across these bad boys:


These are pushfit flexible connectors at both ends, with an isolation valve built in at one end.  At £10 each they were not cheap!  The only other solution was a compression flexible connector, with a normal compression isolation valve.  But I didn't  have enough length of pipe before it disappeared up behind the tiles to do this.  So pricey push fits it was.

First of all, I had to make space around the pipes to get my pipe cutter in.  The plaster went almost right up to the back of the pipes, that I got out my trusty bolster chisel (this was actually a new one as I had returned my dad's one to him) and club hammer.


Except that didn't really work. There just wasn't enough space. So I got the drill out and tried that.  Much better.


Slow progress, but I got there eventually.  I couldn't access the second one, but I figured once I got the first one out, I could access the second one a bit easier.

First pipe cut

I put some tape over the pipe to stop the plaster dust going down there and clogging the shower pipes.


All pipes cut and ready to connect up.  I made sure to deburr the ends of the copper pipe too.  As the pipe cutter squeezes the pipe, the deburring tool helps get rid of any lip in the pipe as well as getting rid of any sharpness which might damage the rubber seal in the flexible connector.


You can see where I mark the pipe to check the pipe has been pushed on as far as it can go.


All done!

I called Triton again and it did take them about a week to track down a suitable part.  Our shower actually went out of manufacturing (which is probably why it was on sale!) so they had to get parts from a slightly different shower.  We had the Valdi, and they used parts from the Thames.  It's very similar, but the styling is ever so slightly different.  

They just changed the whole unit, and bought us a spare shower head, slider rail, soap tray etc. etc. as well.  Awesome!  Unexpected freebies!  It was swapped in minutes and the man was on his way.  No fee at all.

Top notch servicing from Triton.  Absolutely A+.

And it works amazingly well!  No leaks, and you can turn it off and on with just one finger! Bliss!


Friday, 30 October 2015

Getting the radiators sorted, once and for all.

Having discovered the source of the heating pipes in the hallway, it made sense to take the system apart again, and re-do the plumbing to both the radiators in the hallway and living room, and to have the plumbing coming up through the floor, rather than through the wall which was currently causing us a headache.

It also made me think that when we eventually get round to plastering the living room, we are also likely to have the same problem there.  So lets sort this out now.

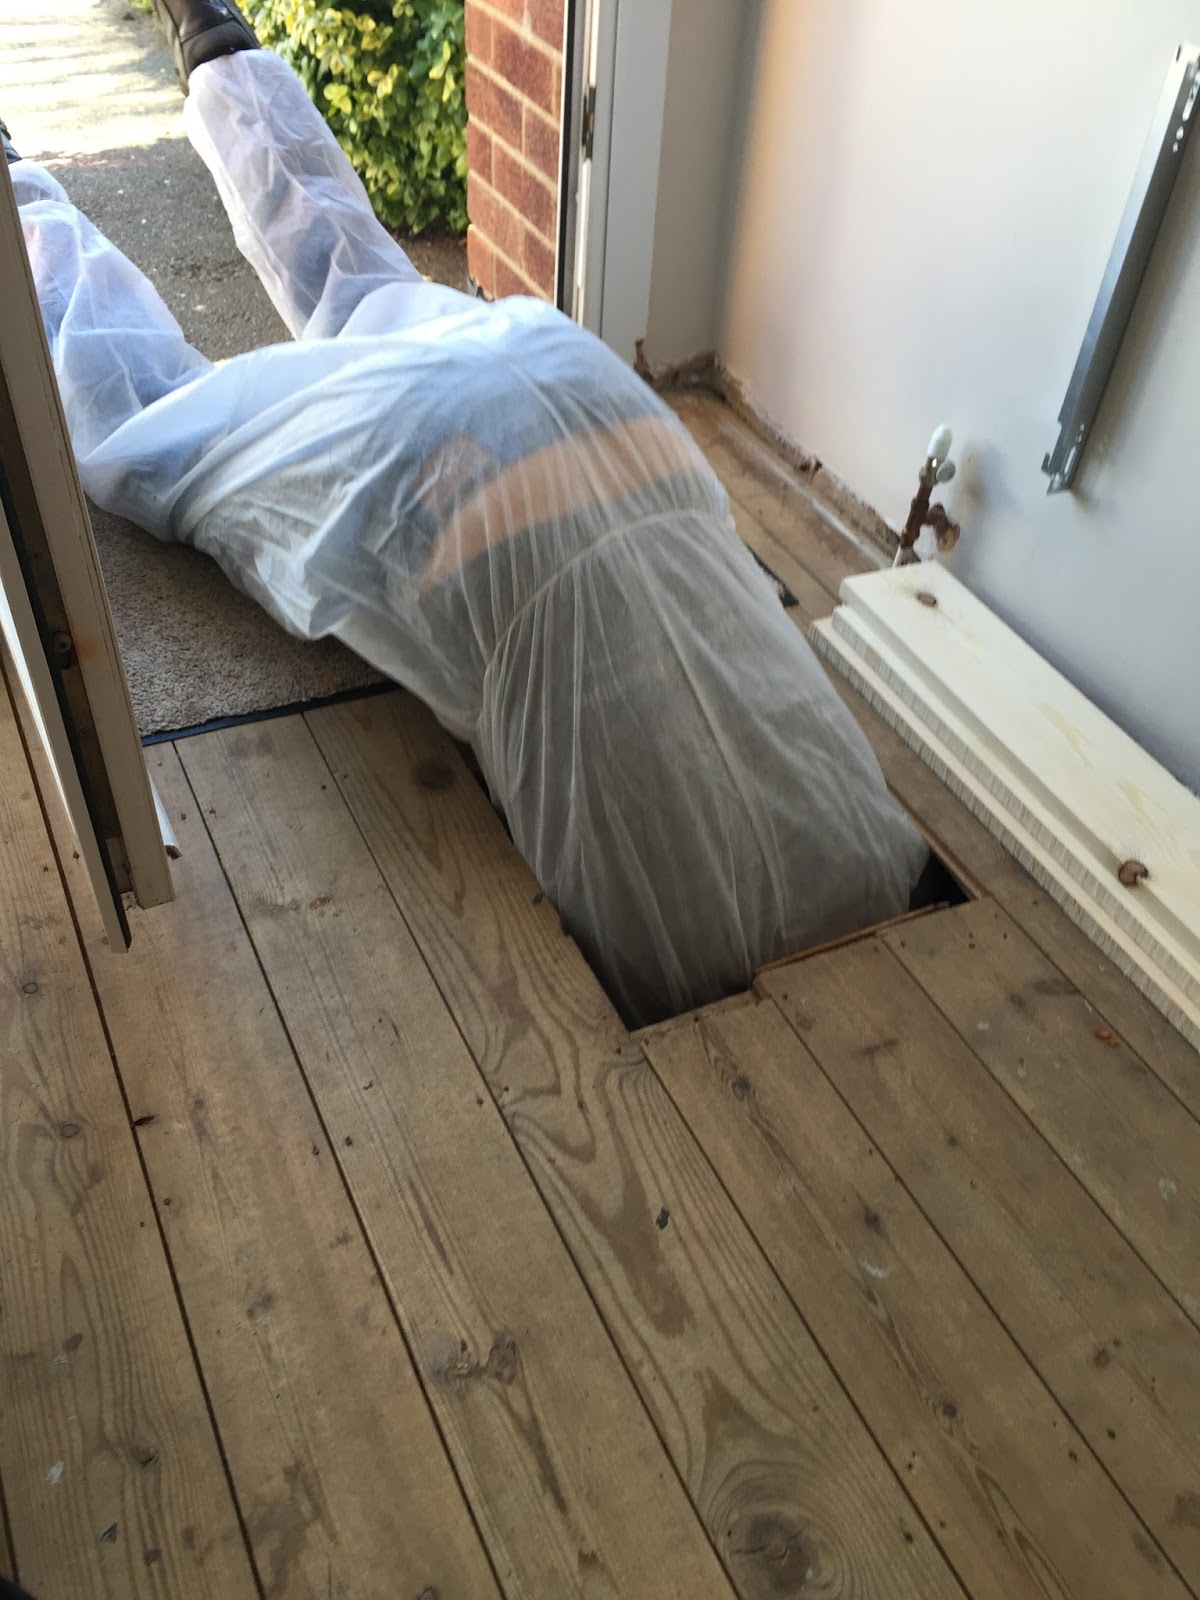
We only had the one access hole in the hallway and I didn't want to rip up all the floorboards as we will be finishing them.  We would have to go down there anyway to do the insulation, so I sent the hubby down there for practice. The living room was a bit easier to access - there were already two accessible boards near to the ends of the radiators, and I just had to lift one more.  We would be carpeting this room anyway so it wouldn't be as crucial if it got slightly damaged.


So, off the poor bugger went.  I did kit him out though before he went.


Took him a while to figure out how best to get in the hole! Lol!


We still had the weird capped water pipe to deal with as well:


Well, on further inspection, the pipe didn't seem to be coming from the other side of the radiator after all...  It seemed to be coming from the corner under the stairs.  And there is definitely no water pipes over there...  That's the point that the gas comes in the house...  Oh my goodness, it was GAS!  So that is just going to stay where it is. Thank goodness I didn't cut into it!


For the plumbing we used JG Speedfit Plastic Push Fit connections.  Whilst soldering would be the ideal option, we just aren't competent, and compression fittings still make me somewhat nervous.  The plastic push fit ones also seem like they will be more flexible than the copper push fit which had very little play in them.  

Top tip: I always measure up on the outside how far the pipe should go in to the connection, and then mark this on the pipe.  Then when I push the pipe in, I make sure it's pushed right up to the mark I have made on the pipe.


The lounge radiator all plumbed in through the floor now instead of the wall


We made all of our connections (this took about 1.5 days), and then pressurised the system.  We have a combi boiler so that included filling up the system with water through our filling loop, and then going round and bleeding each radiator in turn, and after each radiator topping up the system again with the filling loop.  This is a good job for two people, as one can be walking around the radiators while the other one stays next to the boiler topping it up when necessary.  

All seemed ok, and we put the heating on to really test it out.  A few hours later I noticed a small wet patch under two of the connections - eek!  That means draining the whole system down again :( Needs must though, so that's what we did.  


They were both leaking at extender valves (why were we using extender valves at all I hear you ask?  Well, there was a joist directly underneath where I needed the pipe to come up so I obviously couldn't drill through it).  All we did was take them off, cleaned them up, put 12 turns of PTFE on and some Fernox LS-X and we were good to go.  I think I had only put about 3 turns of PTFE on the first time so I hoped this would do the trick.

So far, touch wood, it has done the trick and we've had no more leaks yet.  I'll keep an eye on the system though this winter as this will be the first winter we have properly used the heating with all our plumbing work.  I have been advised that leaks can develop over a few months so I'll keep an eye out.

Anyway, here's our handy work in the hallway - I think it looks much cleaner than all those T pieces going through the wall (I still need to paint the grey filler I used to fill in the hole), but I love the look of the clean shiny copper pipe coming up through the floor.  I've never understood why people paint them.


Hopefully that will be the last of the central heating work I need to do for a long time! I hope!  The only radiator left to sort out is the kitchen one, but we are waaaay off doing the kitchen so that's ok - I can cope with that.

Have you ever done any work on your central heating system?  Did it go to plan?