Friday, 13 November 2015

Hallway - To Do List Update

So, two and a bit weeks on and how am I getting on?


  1. Get the radiator back on the wall.
  2. Take up the laminate flooring
  3. Cut back bathroom flooring upstairs to fit nicely in door threshold in prep for floor work Post to follow soon
  4. Insulate under the ground floor (I'm fairly sure this hasn't been done, but who knows!) 
  5. Replace loft hatch, and sort out plaster around it. Making progress
  6. Sort out the dodgy patch on the ceiling 
  7. Sand floor (upstairs and downstairs) Post to follow soon
  8. Stain and varnish the floor Making progress
  9. Sand down woodwork on stairs ready for repainting
  10. Finish stripping door frames (firstly, I need to figure out where I'm going to stop!)
  11. Attach skirting board to all walls
  12. Prime and paint all woodwork (this is going to be a big job!)
  13. Paint the two internal doors downstairs
  14. Fit new handles, hinges etc. to the downstairs doors
  15. Carpet runner for the stairs
  16. Make blind for upstairs window Supplies purchased - just need to find time to make it!
  17. Make curtains for front door
  18. Buy frames and hang pictures 
  19. Build out under the stairs to enclose the space (my first go at serious carpentry!)
  20. Install storage system under the stairs
  21. Revel in the prettiness of the hallway when it's all done! :)
Sooo much still to do! I'm hoping to make some good progress this weekend before the in-laws come to stay next weekend.  I've been trying to do stuff in the evenings too but work has been so busy that I don't always feel like it.  I think I need to read more of my motivational monday posts!

Tuesday, 10 November 2015

Insulating under the floorboards

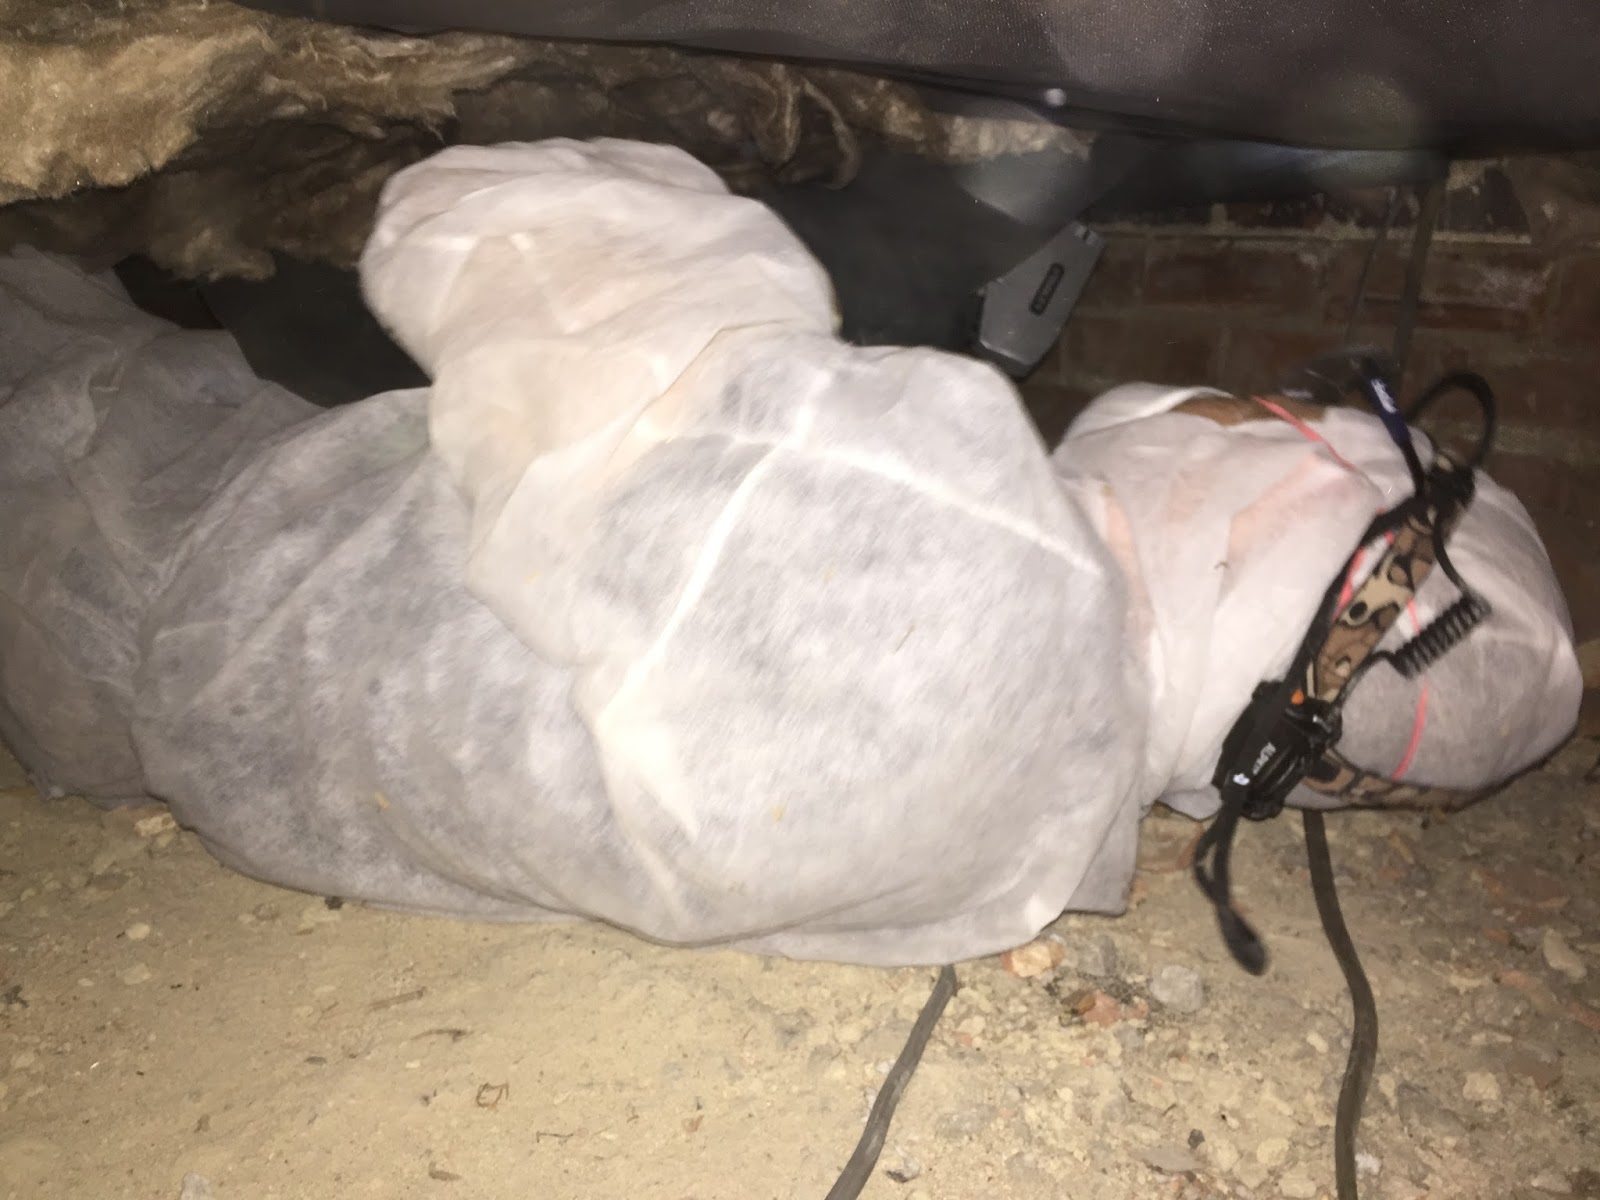
Unfortunately for Dan, the time quickly came round to insulate under the floor boards downstairs.  I'm not going to lie, he wasn't looking forward to it.

But B&Q had a fab deal on loft insulation (on a roll) - just £9 per roll (about 8 sq. m of 100mm thick insulation), so this really encouraged me to get it done.  I also picked up some weed control membrane whilst in B&Q as well for £12, so total cost to get this job done = £21.


They did have weed control fabric for only £5, but I chose this particular one as it had visible (very small) holes in it to let the air freely circulate.  I also thought this would have less chance of tearing as it seemed a bit stronger.


The idea was to push the insulation up between the joists, and then staple the fabric on top of the joists to keep it all up there.

I had received a great tip from a friend to cut the insulation whilst it was still in the packaging.  This made quite light work of it.  We also found it was easier to cut the sections wider than the width between the joists because then it almost stayed up by itself so Dan had his hands free to concentrate on the fabric.

I cut the insulation with just a normal saw:


Dan measured how big the fabric needed to be too and I cut that into manageable sections.  To start with we were too ambitious and Dan struggled with the size of the pieces so we had another go at it and cut them smaller, approx 1m x 0.40m. 


I actually used the floorboards to line up cutting the fabric!

FYI, we were both clad up with PPE: glasses, mask, full length sleeves and trousers, gloves, and Dan had a disposable boiler suit on too.  Insulation is not so nice stuff, very itchy and you certainly don't want to be breathing a lot of it in.


And here is the finished look:


We didn't quite finish - we have one more small strip to do, the one that contains the access hatch.  That also has an air brick in it too, so we need a little more thought on how to deal with that one.  The key is to not block them up to allow the air to flow through so moisture doesn't build up and make the wood rot.


Monday, 9 November 2015

Motivational Monday - Do It


I'm so stubborn, that when people tell me I can't do something, or won't be able to do something, I try even harder just to show that I can do it!  Prove those people wrong!

Friday, 6 November 2015

Updating the loft hatch

I wasn't particularly happy with how the plasterer had left the loft hatch, and it certainly requires some work to get it to a finished standard.

This is what I was starting with:


I planned to completely change the door, and I have in fact had a new door cut out of plywood for probably about 6 months.  I've just never gotten any further...

But I also needed to sort out the plaster around it.  I knew I'd put some trim around the edge of the door, but I didn't want the trim to be too wide so I needed to sort out the plaster work a bit.

I went back to my trusty filler friend.  I actually used deep gap filler as that's all I had lying around, so I thought I would give it a go.  

I started with a filling knife:


But it really wasn;t working out for me.  The filler seemed too dry so I had a look at the instructions, and it recommended adding a few drops of water to it.  I did this, and also cracked out an old card. And it went on waaaay easier than with the filling knife.  


I had no intentions of getting it perfect first time.  But I have had a good go at it.  I'll follow up with some more filler and then sand it flush with the new plaster level hopefully.  Then when I mount the new door, I'll mount it a few mm lower than existing so it's also flush.


It's certainly not finished, but it's progress nonetheless. #smallprogresseveryday


Thursday, 5 November 2015

Filling in the holes in the new plaster

So you might have read about our mini plumbing disaster here and here.

Which left us with some gaping holes through to the living room.  I used some deep gap filler, and a filling knife, and filled them as best as I could.


I left this for a few days to go fully hard, and then used some sandpaper to sand it down.  I've no idea what grit size I used, I just picked up the first piece I found in the garage!  It seemed quite coarse, but when I touched the wall afterwards it was super smooth so I didn't bother looking to find any finer sandpaper.

I then touched up with the wall paint, and I used a dry roller to run over where I had touched up to get rid of the brush marks,  I also used this opportunity to touch up a few marks that we have accidently made on the walls since we painted it, not that long ago at all - oops!

For example this one, where Dan made a mark and then tried to rub it to get rid of the mark...


Good as new now.  You'd never know there was ever a hole there now:


Wednesday, 4 November 2015

Birthday Surprise!

It was my 27th birthday last week.  And I was so excited when I unwrapped this:


It's a circular saw!! I can't wait to give it a go.  There are so many times when I've battled with a hand saw, I'm hoping this makes things a heck of a lot easier.

Stay tuned to see how I get on with it!

Monday, 2 November 2015

Motivational Monday - Priorities

I think about this quote a lot when doing our renovations.  For other people, their priorities are going out clubbing every other night, or holidaying every few weeks somewhere fancy.  We also don't watch much TV.  I spend a lot of time doing DIY and my husband does a lot of sport - things we couldn't do if we were glued to the TV all the time.  What are your priorities?